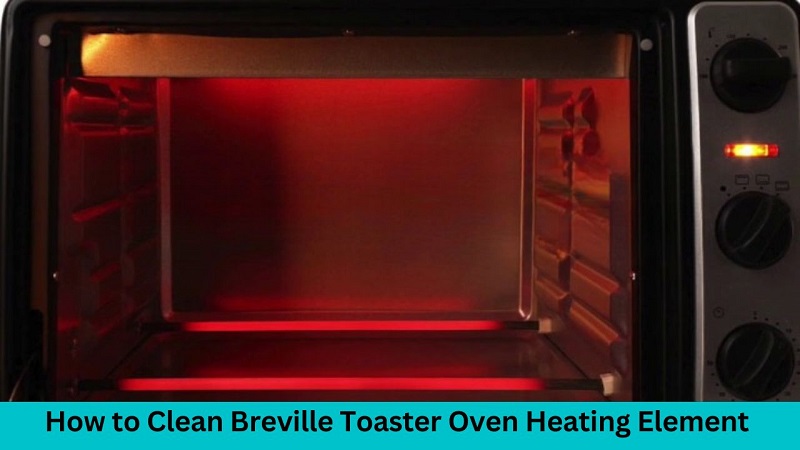
If you notice your Breville toaster oven is taking longer to heat up, producing unevenly browned foods, or smoking more than normal, the heating element likely needs a thorough cleaning. With regular use, grease, drips, and food debris can build up on the heating element, affecting performance. Here’s how to safely clean it.
What You Need:
- Breville toaster oven
- Phillips head screwdriver
- Gloves
- Small vacuum brush or pipe cleaners
- Distilled white vinegar
- Non-abrasive sponge or cloth
Step-by-Step Cleaning Process:
In this detailed step by step guide, we will walk you through the steps to keep your Breville toaster oven heating element spotless
Step 1 – Unplug and Remove Rack and Pan
Make sure your Breville is turned off, fully cooled, and unplugged. Open the door and remove the wire rack, crumb tray, and baking pan so you can access the heating element.
Step 2 – Locate Screws to Remove Cover
On most Breville models, you will find four screws – one near each corner along the top back of the inner oven walls. Using a Phillips head screwdriver, remove all four screws.
Step 3 – Remove Cover Panel
Once all four screws are out, gently pull off the metal cover panel to expose the top heating element underneath.
Step 4 – Inspect and Clean Heating Element
Check under the heating element cover for any signs of burnt on debris, grease splatter, or discoloration. Use the small vacuum brush or pipe cleaners to gently loosen and remove any chunks or buildup.
Step 5 – Clean with Vinegar
Dip your sponge or soft cloth in undiluted distilled white vinegar and wipe the coils of the heating element. Vinegar is acidic so helps dissolve baked-on grime. Take care not to brush or scrape too rigorously to prevent damaging the delicate coil wiring.
Step 6 – Final Wipe Down
Dampen a microfiber cloth with clean water and wipe down the interior surfaces, including the heating element. Ensure there is no cleaning residue left behind.
Step 7 – Rinse and Dry
Use a clean sponge or cloth dampened with water to remove any residual vinegar solution. Ensure heating element is fully dry before reassembling toaster oven.
Step 8 – Replace Cover and Screws
Carefully replace metal cover panel, matching up corners and inserting all four screws to securely fasten in place. Double check that no wires are crimped before tightening.
Once heating element is cleaned, replace oven accessories then test performance at a high temp. If airflow still seems restricted or results are uneven, contact Breville support about potential coil replacement options before attempting further DIY repairs.
Regularly cleaning grease and food buildup off the delicate heating coils keeps your Breville toaster oven heating efficiently for years. Follow these steps to restore crispy toast and evenly baked foods.
Conclusion:
Regular maintenance and proper cleaning of your Breville toaster oven’s heating element are crucial for optimal performance and longevity. By following these step-by-step instructions, you can confidently tackle the task, ensuring your appliance remains in top-notch condition for all your culinary adventures. Remember, a clean heating element not only enhances efficiency but also contributes to the overall safety of your Breville toaster oven.


Leave a Reply