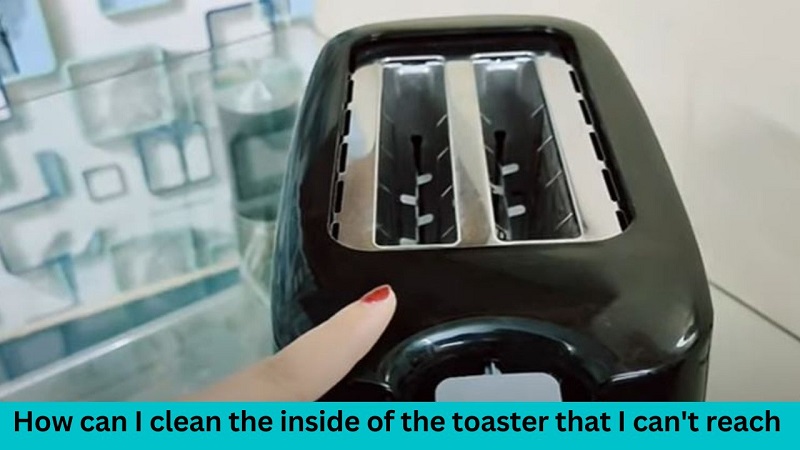
When it comes to kitchen appliances, the toaster is a workhorse, faithfully churning out perfectly golden slices of bread day after day. However, as with any hardworking appliance, it requires regular maintenance to ensure it continues to function optimally. One of the challenges many toaster owners face is cleaning the inside of the toaster, especially those hard-to-reach areas that seem to defy even the most determined efforts.
If you notice your toast coming out with black crumbs or your waffles having a slightly burnt taste, it’s likely time to give your toaster a thorough cleaning. But getting into all the nooks and crannies of a toaster can be tricky.
Way to Clean the Hard-to-Reach Spots Inside Your Toaster
Here are some clever ways to clean even those hard to reach areas inside your toaster:
Use Compressed Air
First, unplug the toaster and make sure it has cooled completely. Then use short bursts of compressed air (like what you would use to clean a computer keyboard) to blow out any loose crumbs. Hold the straw attachment into the slots as best you can and shoot out puffs of air. This should dislodge debris and blow it out.
Try a Toothbrush
For stuck-on grime, a clean toothbrush can scrub away gunk. Dip the toothbrush in white vinegar and gently scrub the interior walls, crevices and metal grating areas that you can access. The acetic acid in the vinegar will help dissolve mess. Rinse the toothbrush as needed in water.
Vacuum It Out
Use the narrow hose attachment that comes with your vacuum and see if you can maneuver it into the slots. Carefully vacuum back and forth to suck up debris lodged deep within the toaster guts. Check if the hose reaches down into the crumb tray area as well for a thorough cleaning.
Toast Some Bread
Here’s an unusual hack that uses toasted bread to clean grimy spots. Toast some cheap white bread until very dark. Then use metal tongs to rub the charred toast over any stubborn stains. The burnt toast will help wipe gummy residue away. Discard the toast when finished scrubbing.
Vinegar Soak
For particularly challenging spots, mix equal parts water and white vinegar. Dampen a cloth or sponge with the solution and gently scrub the inside of the toaster. Vinegar’s natural acidity helps break down grime. Wipe the interior with a clean, damp cloth afterward.
Q-Tips or Cotton Swabs
For those tiny, hard-to-reach corners, use Q-tips or cotton swabs dipped in a cleaning solution. This targeted approach can help you get into spaces that other tools might miss.
Tackle Grease Buildup
For shiny clean slots, sprinkle salt directly into the toaster openings. Then cut a lemon in half and rub the exposed flesh across the metal grating as best you can. The salt and acid together make an effective cleansing paste for grease and discoloration. Wipe with a paper towel and rinse with a spritz of vinegar sprayed inside.
While it takes some maneuvering, with the right tools and techniques you can tackle even those impossible-to-reach areas between the slots. A little creative cleaning leaves you with sanitized, crumb-free toast for many months before having to repeat the process.
Conclusion
Regular maintenance and cleaning of your toaster’s interior not only prolong its lifespan but also ensure that your morning toast remains delicious and free of burnt crumbs. By employing these creative cleaning methods, you can conquer the challenge of reaching those inaccessible areas, keeping your toaster in top-notch condition for many breakfasts to come.
