You probably think that washing dishes in a single sink is hectic. It might seem hard for a beginner, but we have some tips you can use to make the process easier. The skill of washing dishes in a single sink is a basic skill that you need to know. This is because you might not have the luxury of dishwashers or double sinks everywhere you go.
It takes longer to wash dishes in a single sink than in a double sink. The truth is, you don’t necessarily need a double sink to wash your dishes. Read on to find out the whole process of washing dishes in a single sink.
Steps on How to Wash Dishes in A Single Sink
You should follow several steps to wash your dishes in a single sink. We have outlined them in detail below.
Step 1: Organize your dishes
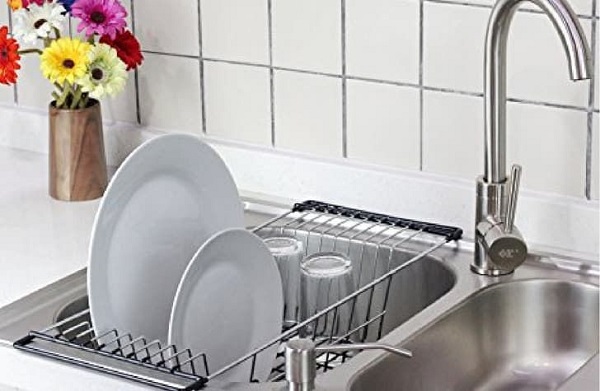
Place your dishes in an orderly manner before you start washing them. The best way to organize your dishes is to group them into smaller loads rather than placing them in individual loads. This will make your work easier when cleaning.
Keep the pots, plates, and glasses separately beside the sink when sorting your dishes. This helps you to clean them easily without risking breaking them. It also helps you clean faster than stacking all the dishes in the sink.
Step 2: Have a drying rack
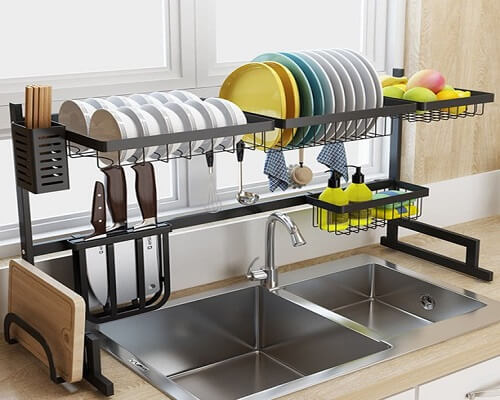
You don’t store dishes when they are wet or dripping water. Get a drying rack or a drainboard where you’ll put the dishes to dry first before storing them. Place the drying rack near the sink to flow the dripping water. This keeps other parts of your kitchen dry. If you get an over-the-sink drying rack, the better.
Step 3: Shut-off valves
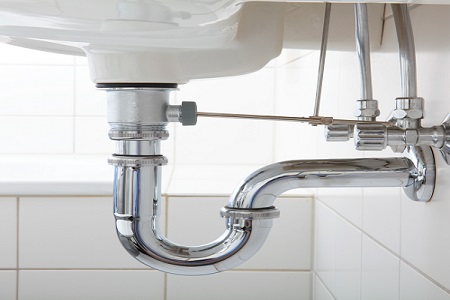
While cleaning the dishes, of course, you need to add some hot soapy water. Shut-off valves will help you regulate the amount of water in the sink. Using the shut-off valves as the stopper for your sink will lock in the soapy water you are using to clean your dishes. Therefore, it is easier to scrub your dishes. If you are using a washtub, the shut-off valves may not be of much use.
Step 4: Scrub your dishes
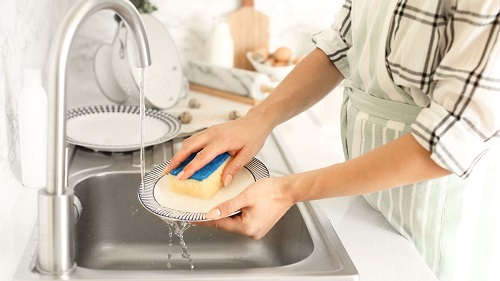
When do you put your dishes after scrubbing, yet you only have one sink? When using a single sink, leave them in soapy water to scrub the other dishes. It might seem easier for you if you have a washtub since you can keep your dishes after scrubbing. I will advise you to use the hottest water you can stand, but please don’t hurt yourself while cleaning or rinsing the dishes.
Step 5: Clean your scrubber or scouring pad
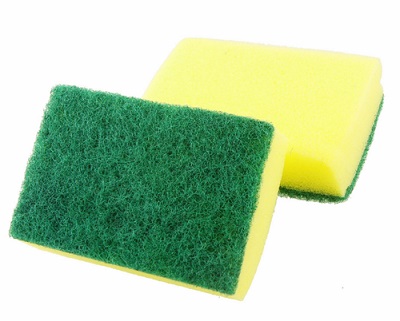
It looks more appealing when you leave your cleaning tools clean and in their respective positions. Wash your scrubber always immediately after doing the dishes.
You May Also Like to Read : How To Tighten a Loose Moen Single Handle Kitchen Faucet
Step 6: Rinse and drain your dishes
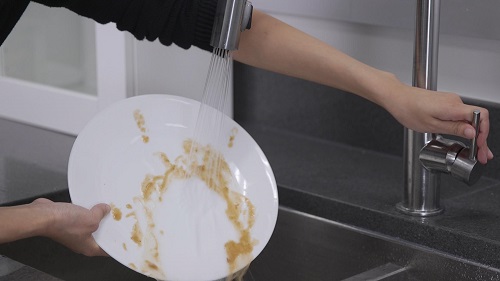
Remember you have been cleaning your dishes with soapy water. Now it is time to rinse the soapy from your dishes. Pull up the shut-off valves in your single sink and allow the dirty water to flow away. Rinse your dishes with running water.
Use your bare fingers and your eyes to make sure your dishes are clean. Do not leave food particles on them to avoid food poisoning because these particles can lead to bacterial growth. In case you have a separate washbasin, you don’t need to change your water; rinse your dishes from the sink tap.
Step 7: Dry the dishes on a drying rack
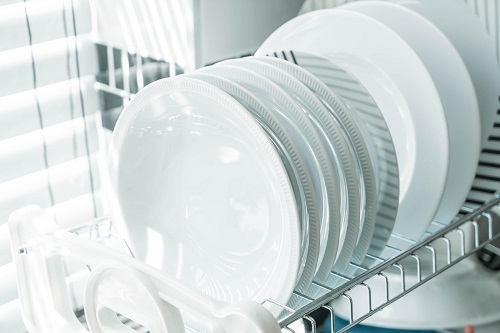
Dishes will dry fast with air circulating through them. To dry your dishes, use a drying rack. Set up the dishes in the drying rack and leave them to dry. Dishes may hold water between them, so ensure that the dishes are not in contact with each other to allow free air circulation. You can also place a fan near the dishes to fasten the drying process if in a hurry.
Step 8: Repeat the process
Remember, you grouped your dishes into small workloads? Now take the second workload and repeat the same process until you are done with all the workloads. You can still leave some dishes later if you run out of space.
Step 9: Hand dry
This step is optional, but it is helpful to ensure your dishes are completely dry and have no food particles on them. Use a clean, dry kitchen towel to wipe your dishes individually, and make sure to get all the water out. If you leave moisture or water droplets on the dishes, this gives room for bacteria to breed, leading to food poisoning the next time you use them to serve food.
Step 10: Cleanup
After drying and storing your dishes, clean the sink and all the tools you have used in your cleaning process. This step is essential because you will use the cleaning items for the nest dish cleaning. I recommend you use antibacterial soap to clean the surfaces.
If you have a stainless steel sink, it can rust because of frequent exposure to water. It is crucial to caulk your kitchen sink to keep it safe.
Conclusion
You might find yourself in a house with a single sink, and you have to keep your dishes clean after cooking. If you wonder how to clean your dishes in a single sink, I hope you have the right tips. This is not a complicated process, and there is no big difference like washing dishes in double sinks. Washing dishes in a single sink is easier if you follow the above tips.



Leave a Reply