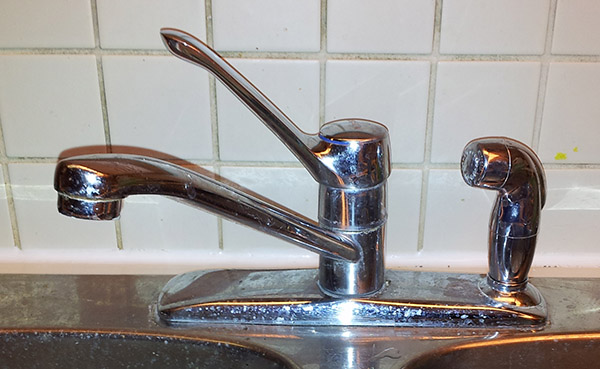
Is your kitchen faucet base loose? This can be annoying. A loose faucet base can cause water leaks. It can also make the faucet hard to use. Fixing this is easy and quick. Let’s learn how to tighten a loose single handle kitchen faucet base.
Credit: thethinkbox.ca
Tools You Will Need
- Adjustable wrench
- Screwdriver
- Allen wrench (Hex key)
- Plumber’s tape
Steps to Tighten the Faucet Base
Step 1: Turn Off The Water Supply
First, you need to turn off the water supply. Look under the sink. You will find two valves. One for hot water and one for cold water. Turn both valves clockwise to close them.
Step 2: Check The Handle
Next, you need to check the handle. Some handles have a cap. Use a screwdriver to remove it. Under the cap, you will see a screw. Use an Allen wrench to remove the screw. Take off the handle carefully.
Step 3: Tighten The Mounting Nut
Now, you will see the mounting nut. This nut holds the faucet in place. Use an adjustable wrench to tighten this nut. Turn the wrench clockwise. Do not over-tighten. It can break the faucet.
Step 4: Check The Base
Check if the base is still loose. If it is, there might be a problem with the plumber’s tape. Remove the mounting nut again. Take out the faucet from the sink. Wrap new plumber’s tape around the threads. Put the faucet back in place. Tighten the mounting nut again.
Step 5: Reattach The Handle
Put the handle back on. Use the Allen wrench to tighten the screw. If the handle had a cap, put it back too.
Step 6: Turn On The Water Supply
Finally, turn the water supply back on. Open the valves under the sink. Turn them counterclockwise. Check the faucet. Make sure there are no leaks. Make sure the base is tight.

Credit: www.youtube.com
Common Problems and Solutions
Problem: Faucet Base Still Loose
If the base is still loose, the mounting nut might be damaged. You may need to replace it. Check the threads for wear and tear. If they are worn out, replace the nut.
Problem: Water Leaks
If you see water leaks, check the plumber’s tape. Make sure it is wrapped tightly. If it is loose, rewrap it. Also, check the O-rings. They may need to be replaced.
Maintenance Tips
- Check your faucet base every few months.
- Tighten any loose parts immediately.
- Replace worn-out parts as needed.
- Use plumber’s tape on threads to prevent leaks.
Frequently Asked Questions
How Do You Tighten A Loose Kitchen Faucet Base?
First, turn off the water supply. Use a wrench to tighten the mounting nut.
What Tools Are Needed To Fix A Faucet Base?
You will need a wrench, a screwdriver, and plumber’s tape.
Why Is My Kitchen Faucet Base Loose?
A loose faucet base is usually due to a loose mounting nut. Wear and tear can cause this.
Can A Loose Faucet Base Cause Leaks?
Yes, a loose base can lead to water leaks. Tighten it to prevent damage.
Conclusion
Tightening a loose single handle kitchen faucet base is simple. You only need basic tools. Follow the steps carefully. This will help you avoid leaks. It will also make your kitchen faucet easier to use. Regular maintenance is key. Check your faucet base often. Fix any issues right away. This will keep your faucet in good shape.
FAQs
Q: Can I Use Any Wrench To Tighten The Mounting Nut?
A: It is best to use an adjustable wrench. This will fit most nuts. Other wrenches may not fit properly.
Q: How Often Should I Check My Faucet Base?
A: Check it every few months. This helps catch problems early.
Q: What If I Can’t Find The Mounting Nut?
A: Some faucets have hidden nuts. Check the faucet manual. It will show where the nut is.
Q: Is Plumber’s Tape Necessary?
A: Yes, plumber’s tape helps prevent leaks. It seals the threads tightly.
Q: Can I Do This Myself Or Need A Plumber?
A: You can do this yourself. It is a simple task. Just follow the steps carefully.
Leave a Reply