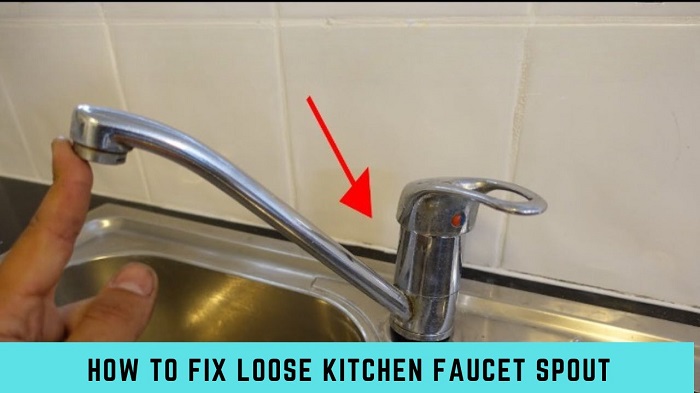
Loose faucets are a common problem in households around the country. Fixing loose kitchen faucet spouts requires some patience and following instructions. If you follow these instructions carefully and are patient with this tough task, you will soon have your kitchen faucet spouts working like new again. So, how to fix a loose kitchen faucet spout?
First, you need to shut off the water to find the nut. After identifying the nut, take the wrench and tighten it. And then cover it up and you’re done. I have explained all the things step by step. By following my easy 6 steps, you can fix the issue by yourself. So, why are you waiting? Keep continuing.
Why Does My Kitchen Faucet Get Loose?
Is your faucet leaking? If your faucet is leaking, you may be leaving it on for an extended period which can cause the spouts to break and fall off. The handle is usually attached to the spout and when the handle is broken from too much force, the spout will eventually become loose as well.
Another reason your kitchen faucet spout may become loose is the fact that it is old. With age, rust and corrosion can happen which will make the faucet come off more easily than it did when new.
Just like with any other part of your house, time takes its toll. If you have an old faucet that has loosened over time, consider replacing it with a new one to avoid this problem in the future.
How To Fix Loose Kitchen Faucet Spout?

When you lose your kitchen faucet, there is no need to hire a professional plumber to fix it. It is about tightening up the nut which locks the faucet head and base together. The only challenge you may find is there is probably a hard-to-reach nut somewhere along the pipe.
Once you find it, just push it over continuously to make sure it’s tight. To complete the process in as much detail as possible, I created a comprehensive list that contains only 6 steps. Let’s examine these steps before proceeding.
Step 1 – Make Under-sink Cabinet Empty
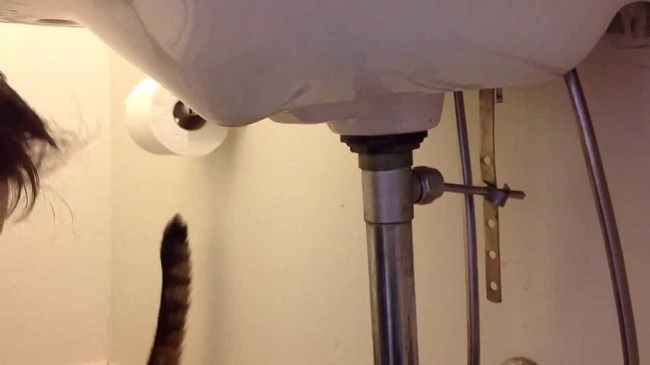
It is important to empty your under-the-sink cabinet before you begin any fix to your leaky faucet. Because we typically place objects into the cabinet under their sink. You should ensure that these objects have been removed.
Next, you ought to be cleaned off the dust that has accumulated flecks, so that the lower part of the cabinet doesn’t blind you in each attempt to locate the bolt.
Step 2 – Turn Off the Water

Before you begin to tighten up, make sure to turn off both of the shut-off valves placed below your sink. This can prevent you from being soaked if the pipe bursts or something goes wrong while you’re tightening the nut.
Step 3 – Find Out The O’Ring
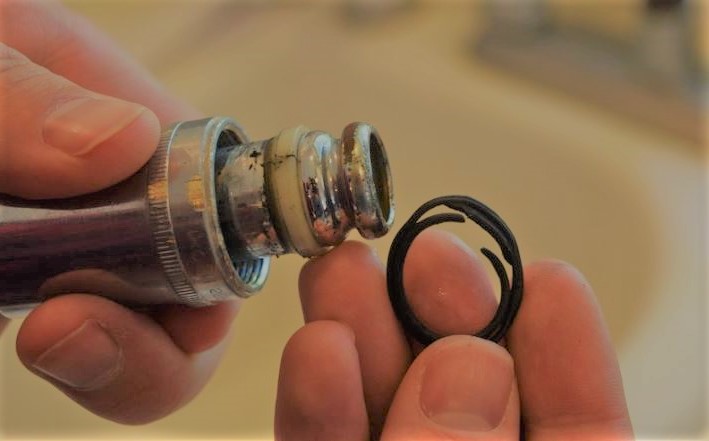
This O ring will be located in the same place where your old faucet handle was attached. You may not see it because the sink is underneath your cabinet. But with a bit of maneuvering, you should be able to locate this O ring.
Ensure you’ve placed the flashlight above in the dark area at this time. Find a way to position yourself beneath your sink’s underside directly. Now, turn on the flashlight so you can locate the ring on top of your kitchen cabinetry’s roof.
It is directly under your kitchen sink’s location. Your O ring will be facing up on top of the faucet and the underneath side facing down towards your sink.
Step 4 – Set The Wrench To Size
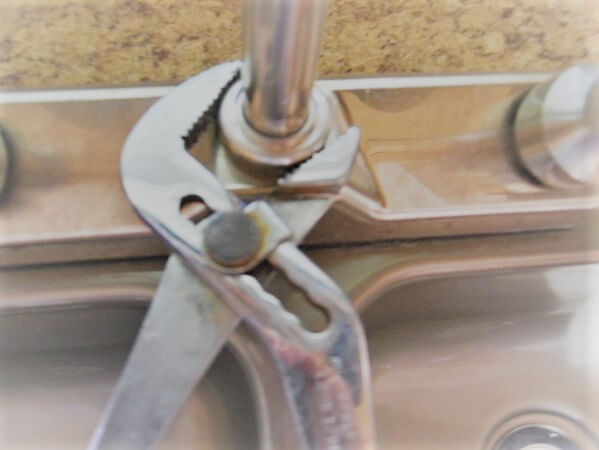
Set your wrench to the size that best fits your faucet. Usually, this is the size of the nut on one side of the wrench and the size of the nut on the other side of it. You may have to adjust this as you go along. If you are unsure what size wrench to use, take a larger size as it is easier to squeeze these bigger wrenches together.
Step 5 – Check Out Mounting Nuts
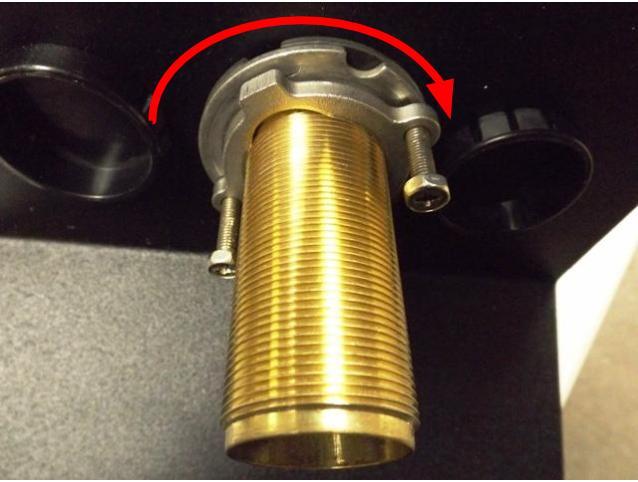
Make sure to turn this wrench clockwise for this maneuver to be performed properly. You will need to be positioned in a position that may be difficult to create as this metric will differ depending on the size of your cabinet and the location of this nut.
Put extreme care into tightening the nut, because it is extremely important to ensure that you have a tight fit. Your faucet is going to still need to be left loose once you have tightened it too much. Enable the thing to loosen by itself, and do not tighten it too much. Let the entire thing loosen as long as it can still get.
Try to not force it upward beyond a point for many reasons, and make sure it remains loose. As part of your loose kitchen tap has been repaired, it is time to switch on the water valves. After your little matter is solved, it is typically a great idea to shoot for work to examine if your repair was successful.
Step 6 – Re-Test Your Faucet Again
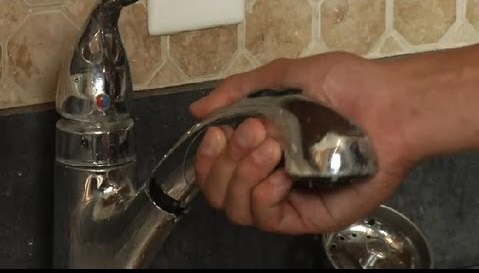
Once you have reattached your faucet to the mounting nuts, turn on the water to make sure it is working properly. If you feel that something is still wrong with your faucet, or you see a leak, then repeat this process and make any changes if necessary.
Hopefully, these steps have helped you fix your loose kitchen faucet! Remember to use pliers if needed when tightening the nuts onto your spout. It will help prevent them from spinning while tightening them down. Make sure this is completely done by testing the water pressure before moving on to anything else.
Also Read: How To Tighten a Loose Moen Single Handle Kitchen Faucet
How Do I Make My Kitchen Faucet Steady?
Stabilizing your kitchen faucet can make it last longer and prevent future problems. If the spout is loose and you want to keep that from happening, you may need to apply the plumber’s grease.
To keep a kitchen faucet steady, you can apply plumbers’ putty on the mounting parts underneath. These parts are intended to hold up the faucet and may have to be properly tightened. Also, examine all of the screws in the mounting parts to ensure the faucet is securely mounted.
If your kitchen faucet is leaking from or around the handle or spout, you may need to replace one of those items as well. This may seem like a lot of work but fixing this problem can save you from having to replace an entire faucet if you did not attend to the small problems in time.
FAQs
How Do You Tighten A Loose Faucet Spout?
There are a few ways to tighten a loose faucet spout. One way is to use a wrench to unscrew the nut on the faucet handle and then twist it clockwise. Another way is to use a plier to bend the top of the spout so that it is more easily screwed back on.
How Do You Fix A Loose Faucet Stem?
If the faucet stem is loose, you can try to tighten it with a wrench. If that doesn’t work, you can try to use a plunger to push the stem back into place.
Final Words
If your kitchen faucet spout is leaking water, and you don’t know how to fix loose kitchen faucet spout, read the entire post carefully and follow all the steps properly. If you fail to fix it, you should call a plumber to fix the issue.
Be sure that you are using the correct size wrench when tightening the nuts on your new spout or faucet handle. If they are too tight they could break, which means a trip to the hardware store and an additional expense.



Leave a Reply