Embossing rolling pins are special tools. They help you make pretty designs on dough. They are easy to use. You can make cookies, pies, and other baked goods look beautiful. This guide will show you how to use an embossing rolling pin. Follow these steps and you will have fun in the kitchen.
What is an Embossing Rolling Pin?
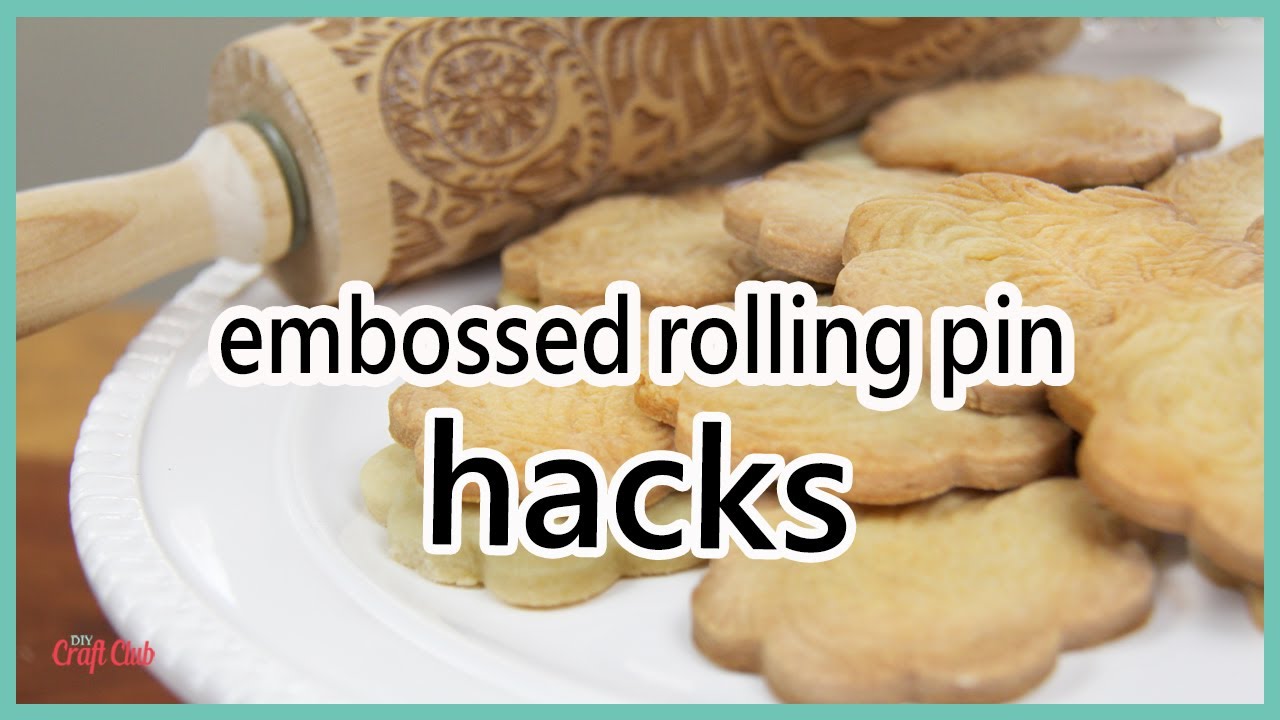
An embossing rolling pin has patterns on it. These patterns can be flowers, shapes, or other designs. When you roll the pin on dough, the patterns get pressed into the dough. This makes the dough look fancy. You can buy embossing rolling pins in many stores. They come in different sizes and designs.
Why Use an Embossing Rolling Pin?
Embossing rolling pins make your baked goods look special. They add a touch of elegance. They are great for holidays, parties, or gifts. Using an embossing rolling pin is also fun. It can be a nice activity to do with kids. Plus, it is easy to use. You do not need to be a professional baker.
Materials Needed
Before you start, gather these materials:
- Embossing rolling pin
- Regular rolling pin
- Dough (cookie dough, pie crust, etc.)
- Flour (for dusting)
- Work surface (countertop or table)
Steps to Use an Embossing Rolling Pin
1. Prepare Your Dough
First, make your dough. You can use any recipe you like. Cookie dough, pie crust, or even pizza dough works. Make sure the dough is not too sticky. If it is sticky, add a little flour. Knead the dough until it is smooth.
2. Dust Your Work Surface
Sprinkle some flour on your work surface. This helps the dough not stick. Spread the flour evenly with your hands. You can also sprinkle some flour on your regular rolling pin.
3. Roll Out The Dough
Use your regular rolling pin to roll out the dough. Make the dough about 1/4 inch thick. Try to make it even. This will help the embossing rolling pin work better.
4. Dust The Embossing Rolling Pin
Lightly dust the embossing rolling pin with flour. This helps the dough not stick to it. Shake off any extra flour.
5. Roll The Embossing Rolling Pin
Gently press the embossing rolling pin onto the dough. Roll it over the dough evenly. Use even pressure. Do not press too hard. The patterns should appear on the dough. If the dough sticks, add a little more flour.
6. Cut And Bake
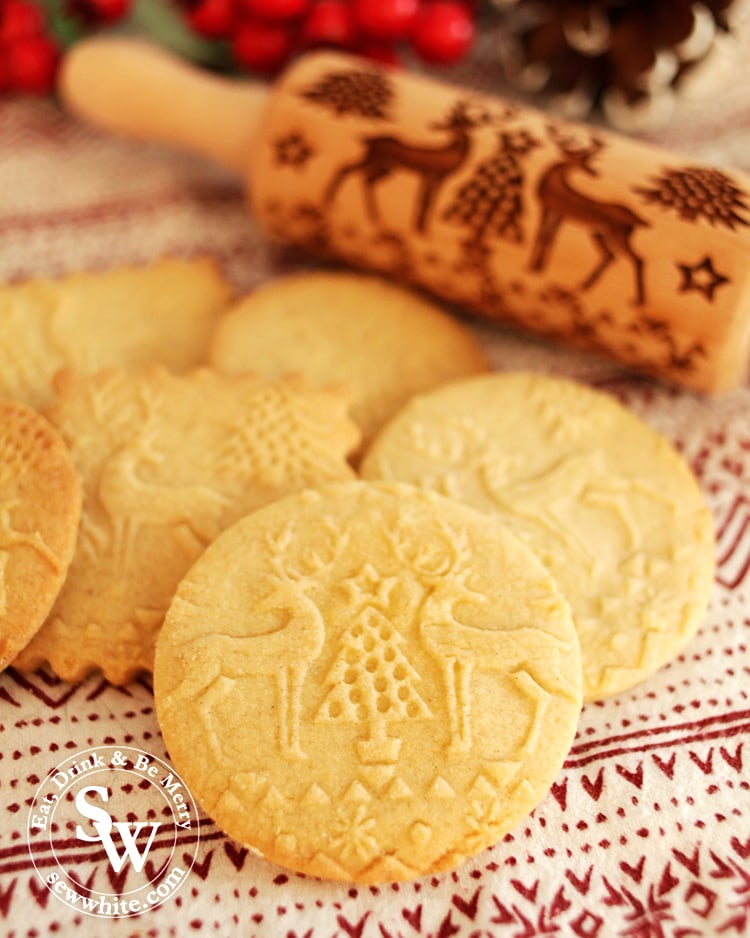
After embossing, you can cut the dough into shapes. Use cookie cutters or a knife. Place the cut dough on a baking sheet. Follow your recipe to bake the dough. Watch as the designs stay on the dough while baking.

Credit: www.sewwhite.com
Tips for Success
- Chill your dough before embossing. It helps keep the designs sharp.
- Use even pressure when rolling. This makes the designs look nice.
- Do not over-flour the pin. Too much flour can make the designs less clear.
- Practice on a small piece of dough first. This helps you get the feel of the pin.

Credit: www.reddit.com
Cleaning and Storing Your Embossing Rolling Pin
After using, clean your embossing rolling pin. Use warm, soapy water. Rinse it well. Dry it completely before storing. Store your rolling pin in a dry place. This keeps it in good condition. Do not soak the rolling pin in water. It can damage the wood.
Ideas for Using an Embossing Rolling Pin
There are many ways to use an embossing rolling pin. Here are some ideas:
- Make fancy cookies for holidays.
- Create beautiful pie crusts.
- Decorate pizza dough.
- Add designs to homemade bread.
- Make unique gift tags from salt dough.
Frequently Asked Questions
What Is An Embossing Rolling Pin?
An embossing rolling pin has patterns to imprint dough.
How Do You Use An Embossing Rolling Pin?
Roll it over dough to create patterns.
Can I Use It On Any Dough?
Yes, it works on most doughs.
How To Clean An Embossing Rolling Pin?
Wipe with a damp cloth and dry.
Conclusion
Using an embossing rolling pin is easy and fun. It makes your baked goods look special. Follow the steps in this guide. You will create beautiful designs on your dough. Remember to have fun and experiment. Happy baking!


Leave a Reply