
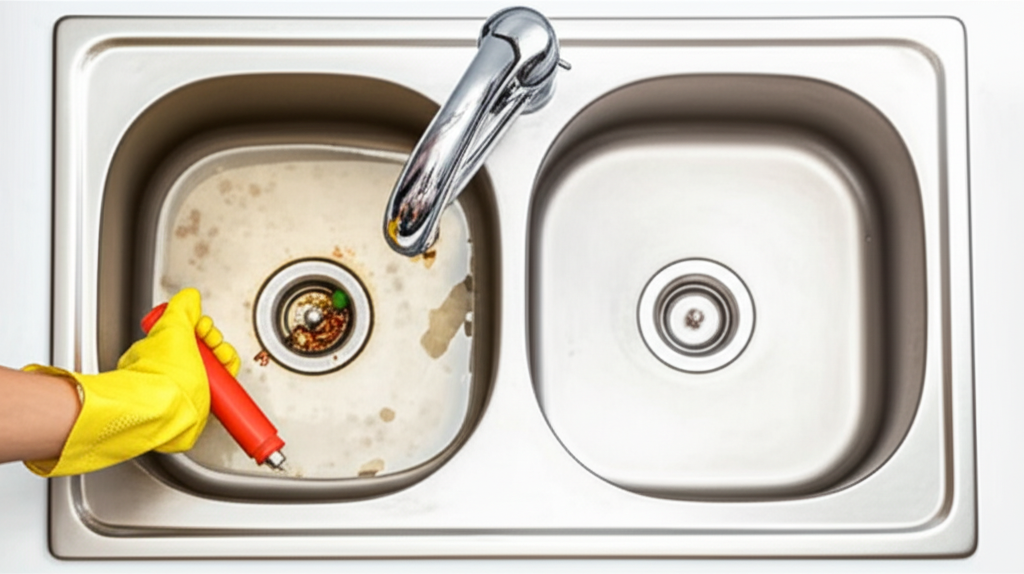
Unclogging a double kitchen sink, especially one with a garbage disposal and dishwasher, is a common DIY task. With the right tools and a clear, step-by-step approach, you can efficiently clear blockages and restore your sink’s flow without needing a professional plumber. This guide provides easy-to-follow instructions for an effortless fix.
Is your double kitchen sink giving you double the trouble? A clogged sink is one of the most frustrating kitchen problems. You pour water, and instead of draining, it backs up into the other basin. Or maybe you hear gurgling sounds, a sure sign that something is stuck deep within your pipes. This is especially common in kitchens with both a garbage disposal and a dishwasher, as they add extra complexity to your plumbing system.
Don’t worry! You don’t need to be a plumbing expert to tackle this. I’ve helped countless homeowners and designers understand their kitchen fixtures, and I can tell you that most clogs are easily handled with a few common household items and a bit of patience. This guide will walk you through the process, from identifying the type of clog to clearing it effectively, ensuring your kitchen sink is back to its sparkling, draining best in no time.
Understanding Your Double Kitchen Sink Plumbing
Before we plunge into unclogging, let’s talk about how your double kitchen sink is set up. Understanding the plumbing makes troubleshooting much simpler. A typical double sink has two bowls, each with its own stopper or drain basket. These drains usually lead to a single P-trap – that U-shaped pipe under your sink designed to hold water, preventing sewer gases from entering your home. From the P-trap, the wastewater flows into a larger drainpipe that eventually connects to your home’s main drainage system.
The kicker with double sinks is that a clog in one pipe can often affect both bowls, especially if the obstruction is in the shared P-trap or further down the line. Adding a garbage disposal introduces another layer. Food particles and waste are ground up and sent down the drain, but sometimes larger items or an overload of waste can cause it to jam or contribute to blockages.
Your dishwasher also ties into this system, usually connected to the garbage disposal or a separate drain line that merges with the main sink drain. This means a clog could be caused by anything from food scraps to grease buildup, or even a forgotten item in the dishwasher drain hose.
Common Culprits Behind Clogged Kitchen Sinks
What causes these pesky clogs? It’s usually a combination of everyday kitchen activities. Knowing them can help you prevent future problems.
- Grease, Oil, and Fat: This is a major villain. When hot grease is poured down the drain, it cools and solidifies as it travels through the pipes, clinging to the walls and narrowing the passage. Eventually, it can create a near-complete blockage.
- Food Scraps: Even with a garbage disposal, some items are better off in the trash. Fibrous foods (like celery stalks and corn husks), coffee grounds, eggshells, and starchy materials (like pasta and rice) can accumulate and create stubborn clogs.
- Foreign Objects: Sometimes, small objects like plastic caps, fruit pits, stray utensils, or even jewelry can accidentally fall into the drain and lodge themselves in the pipes.
- Soap Scum Buildup: Over time, soap residue can combine with hard water minerals, forming a sticky film that traps other debris and contributes to clogs.
- Dishwasher Drain Issues: If your dishwasher isn’t draining properly, it can back up into the sink, making it seem like the sink itself is clogged. Food particles from dirty dishes can also get caught in the dishwasher’s drain hose or filter.
- Garbage Disposal Problems: An overloaded disposal, improper use (e.g., disposing of tough waste), or a lack of water while running can lead to jams or partial clogs that affect sink drainage.
Tools You’ll Need for Effortless Unclogging
You likely have most of these items already. If not, they are inexpensive and widely available at hardware stores.
- Rubber gloves
- Safety glasses
- Bucket
- Plunger (sink plunger with a flat bottom is best)
- Old towels or rags
- Wire coat hanger (straightened)
- Screwdriver (flathead and Phillips, depending on your P-trap)
- Baking soda
- White vinegar
- Boiling water
- Optional: Drain snake or auger (for tougher clogs)
- Optional: Pipe wrench (if disassembling the P-trap)
Step-by-Step Guide to Unclogging Your Double Kitchen Sink
Let’s get to work! Follow these steps carefully. If you have a garbage disposal, we’ll address that specifically.
Step 1: Safety First & Preparation
Put on your rubber gloves and safety glasses. Kitchen sink drains can harbor gross bacteria, and you don’t want to splash anything unpleasant on yourself. Lay down old towels or rags around the base of the sink cabinet to catch any drips or spills when you start working under the sink.
Step 2: Assess the Clog
Is the water backing up in both sinks, or just one? If one sink drains but the other doesn’t, the clog might be in the pipe connecting the two basins before the P-trap. If both are blocked, the issue is likely in the P-trap or further down the line.
Step 3: Try the Plunger Method
This is the first and often most effective step.
- Seal the other drain: If you have a double sink, stuff a wet rag firmly into the drain of the other sink. This creates a seal so the plunging action is directed at the clog. If you have a garbage disposal, ensure it’s turned OFF at the switch and the circuit breaker! Most plungers have a flange; if yours does, fold it up.
- Fill the sink: Add a few inches of water to the sink you intend to plunge. This helps the plunger create a better seal and suction.
- Position the plunger: Place the plunger cup directly over the drain opening, ensuring a tight seal.
- Plunge vigorously: Push down and pull up on the plunger handle sharply, about 10-15 times. You’re trying to dislodge the blockage with the pressure and suction.
- Check for drainage: Remove the plunger and see if the water drains. If it does, great! Run hot water for a few minutes to flush out any remaining debris.
- Repeat if necessary: If the clog persists, repeat the plunging process. Sometimes it takes a few tries.
Step 4: The Baking Soda and Vinegar Volcano
If plunging didn’t work, this natural cleaning solution can help break down grease and grime.
- Remove standing water: Bail out as much standing water from the sink as possible using a cup or small bucket.
- Pour in baking soda: Pour about 1/2 cup to 1 cup of baking soda directly into the drain.
- Add vinegar: Follow with an equal amount of white vinegar. It will fizz and bubble – this is the chemical reaction working to break down the clog!
- Cover the drain: Immediately cover the drain with a stopper or a wet rag to direct the fizzing action downwards into the pipe.
- Let it sit: Allow the mixture to work for at least 15-30 minutes, or even an hour for tougher clogs.
- Flush with hot water: Remove the stopper and carefully pour a kettle of boiling water down the drain. This helps to flush away the loosened debris. Be cautious when handling boiling water.
- Test drainage: Run hot tap water to see if the clog has cleared.
Step 5: Using a Wire Coat Hanger (for shallow clogs)
If the clog seems close to the drain opening, a straightened coat hanger can act as a makeshift snake.
- Straighten the hanger: Unwind a wire coat hanger and straighten it as much as possible. Bend a small hook at one end.
- Insert into the drain: Carefully insert the hooked end into the drain opening.
- Probe and snag: Gently push the hanger down as far as you can, twisting and maneuvering it to try and snag or break up the clog. You might feel resistance.
- Pull out debris: Carefully pull the hanger back out. You might be surprised by what you pull out!
- Repeat and flush: Repeat this process a few times. Once you’ve removed as much gunk as possible, flush the drain with boiling water and then hot tap water.
Step 6: Cleaning the P-Trap
This is where many stubborn clogs reside. You’ll need that bucket for this step!
- Place the bucket: Put a bucket directly underneath the U-shaped P-trap pipe beneath your sink.
- Loosen the slip nuts: The P-trap is usually held in place by two large plastic or metal nuts (slip nuts) on either side of the bend. Loosen these nuts by hand. If they are stubborn, you might need a pipe wrench, but be gentle not to overtighten when you reassemble.
- Remove the P-trap: Carefully slide the P-trap down and away from the pipes. Water and debris will fall into the bucket.
- Clean the trap: Empty the contents of the P-trap into the bucket. Clean the inside of the pipe thoroughly with a brush or rag. Check the adjacent pipes for any visible obstructions.
- Reassemble: Reattach the P-trap, ensuring the seals are properly seated. Hand-tighten the slip nuts, then give them a quarter turn with the wrench if needed. Don’t overtighten.
- Test for leaks: Run water into the sink and check the P-trap for any leaks at the nuts. Tighten slightly if needed.
Step 7: Dealing with Garbage Disposal Clogs
If your garbage disposal is the source of the problem, it needs careful handling. Always ensure the power is OFF at the breaker switch before attempting anything inside the disposal unit. A tripped reset button on the disposal itself is also a common indicator of an overload.
- Check the Reset Button: Most disposals have a small red reset button on the bottom or side. Press it firmly. If it popped out, it might have been overheated or jammed.
- Use the Allen Wrench (Hex Wrench): Look for a hexagonal hole on the bottom center of the disposal unit. Insert the Allen wrench that often comes with the disposal (or a standard 1/4-inch hex wrench) and turn it back and forth to manually rotate the grinder plates. This can free up obstructions.
- Clear Visible Debris: With the power OFF, use tongs or pliers (NEVER your hands!) to remove any visible food or foreign objects from the disposal chamber.
- Run Cold Water and Test: Once you’ve tried to free an obstruction, turn the power back on at the breaker. Run cold water into the disposal and turn it on briefly. Listen for unusual noises. If it sounds clear, run cold water and the disposal for about a minute to flush it out.
- If still clogged: You might need to resort to a drain snake or a specialized disposal cleaner, but always ensure power is off when working directly with the unit. Consult your Environmental Protection Agency (EPA) guidelines for responsible garbage disposal use for helpful tips.
Step 8: Using a Drain Snake (Auger)
For clogs that are deeper and more stubborn, a drain snake is your best bet. These are long, flexible cables that can reach further into your pipes.
- Access the pipe: You can usually access the drainpipe by removing the P-trap, or by feeding the snake directly down the sink drain if you have a cleanout access point further down the line.
- Insert the snake: Feed the end of the snake into the pipe.
- Crank the handle: As you push the snake deeper, crank the handle to rotate the cable. This helps it to navigate bends and penetrate the clog.
- Engage the clog: When you feel resistance, you’ve likely hit the clog. Continue cranking or push and pull gently to break it up or hook onto it.
- Retrieve the snake: Slowly pull the snake back out, bringing the debris with it.
- Flush thoroughly: Once the snake is removed, flush the pipes with hot water for several minutes.
You can find various types of drain snakes at hardware stores. For smaller jobs, a simple hand-crank auger is usually sufficient. For more complex plumbing, a professional-grade snake might be needed, which might be best left to a plumber.
Preventing Future Double Sink Clogs
Once your sink is clear, you’ll want to keep it that way! Prevention is key, especially with busy kitchen sinks.
Regular Cleaning Routine
- Flush with hot water regularly: After washing dishes, run hot water down the drain for about 10-15 seconds to help wash away any residual grease or food particles.
- Baking soda and vinegar monthly: Perform the baking soda and vinegar treatment once a month as a preventative measure.
- Use drain strainers: Install good quality drain strainers in both sink bowls. Clean them out frequently.
Garbage Disposal Best Practices
- Run cold water: Always run cold water before, during, and for about 30 seconds after using the garbage disposal. The cold water helps solidify grease so it can be washed away, rather than coating the pipes.
- Avoid problematic foods: Don’t put fibrous materials (celery, corn husks), starchy foods (pasta, rice), coffee grounds, eggshells, or large amounts of food waste down the disposal.
- Cut large items: Cut large food scraps into smaller pieces before putting them in the disposal.
- Never pour grease: Never pour grease, oil, or fat down the drain, even with a disposal.
Dishwasher Maintenance
- Scrape plates: Scrape excess food particles off plates before loading them into the dishwasher. A good strainer in the dishwasher filter also helps.
- Check the dishwasher drain filter: Most dishwashers have a filter that can be removed and cleaned. Check your dishwasher’s manual for instructions.
When to Call a Professional Plumber
While most clogs can be handled with DIY methods, there are times when it’s best to call in the pros. If you’ve tried all the steps above and your sink is still clogged, or if the problem reoccurs frequently, it might indicate a more serious issue:
- Persistent Clogs: Repeated clogs suggest a deep obstruction or a potential problem with your main sewer line.
- Multiple Fixtures Affected: If toilets and showers are also draining slowly or backing up, the problem is likely with your main plumbing system and requires professional attention.
- Unpleasant Odors: Persistent foul odors, even after trying to clear a clog, could signal larger sewer line issues.
- Water Damage: If you notice water leaks or potential water damage under the sink, it’s time to call a plumber to assess and repair any damaged pipes.
- Lack of Confidence: If you’re uncomfortable working with plumbing, especially with the P-trap or garbage disposal, it’s always safer to hire a qualified plumber. You can find resources for licensed plumbers through organizations like the Plumbing-Heating-Cooling Contractors Association (PHCC).
Frequently Asked Questions (FAQ)
Here are some common questions beginners have about unclogging their double kitchen sink:
Q1: How do I know if my garbage disposal is jammed versus my sink being clogged?
A1: If your sink is backing up and you hear the garbage disposal humming or making unusual noises when you try to run it, it’s likely jammed. If the disposal sounds normal but water still won’t drain, the clog is probably further down the pipe after the disposal.
Q2: Can I use chemical drain cleaners on a double sink with a garbage disposal and dishwasher?
A2: It’s generally best to avoid harsh chemical drain cleaners. They can be corrosive to pipes, especially older ones, and can damage garbage disposals and dishwasher components. Plus, they are not environmentally friendly. Natural methods like baking soda and vinegar, or mechanical methods like plunging and snaking, are safer and more effective for most clogs.
Q3: My sink drains very slowly. Is that a clog, or something else?
A3: Slow-draining sinks are usually an early sign of a developing clog. If you notice this, it


Leave a Reply