To undermount a kitchen sink, apply silicone to the sink’s edge, place it under the cutout, and tighten it with clips until dry.
Installing an undermount kitchen sink can feel tricky at first. But with the right help, it’s easier than you think. Many people get stuck with messy sealant or a sink that doesn’t sit straight. Others don’t know how to hold the sink in place while it sets. If that sounds like you, don’t worry—you’re in the right place. This guide will walk you through each step in simple terms. You’ll learn how to do the job right, avoid common mistakes, and get a clean, pro-level finish. Let’s go step by step with clear tips and real-life examples.
Tools & Materials Needed
Essential Tools
To undermount a kitchen sink, you’ll need some basic tools—many of which you might already have. These tools will help you measure, secure, and seal the sink properly.
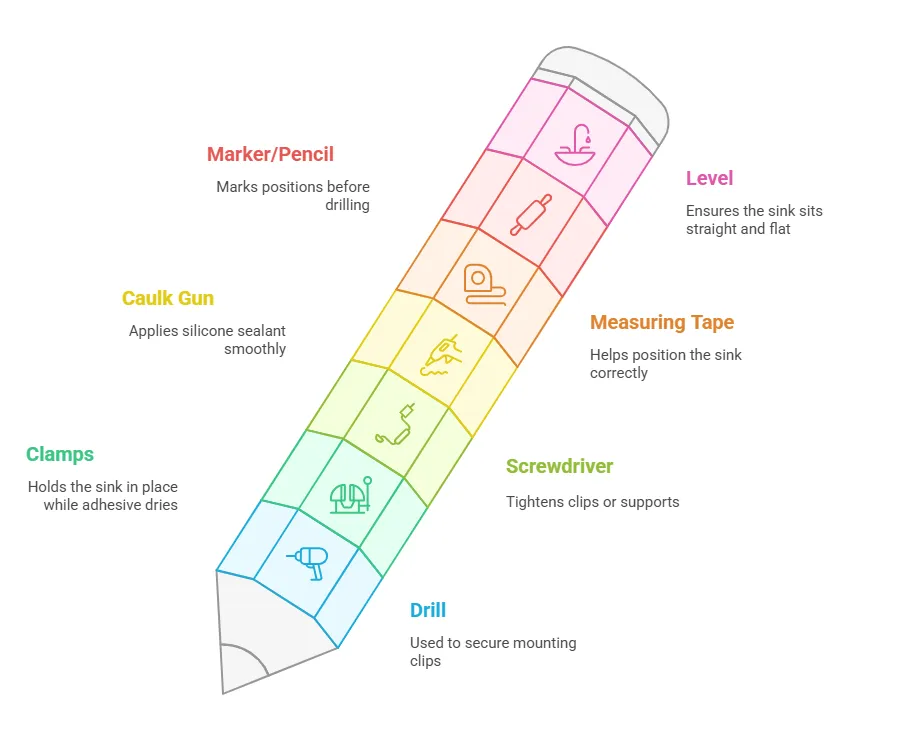
Drill – Needed to secure mounting clips or brackets to the countertop.
Clamps – To hold the sink in place while the adhesive dries.
Screwdriver – For tightening clips or supports.
Caulk gun – To apply silicone sealant smoothly.
Measuring tape – Helps position the sink correctly under the cutout.
Marker or pencil – For marking positions before drilling.
Level – Ensures your sink sits straight and flat.
These tools help you avoid common mistakes like crooked alignment or loose fittings. If you don’t already own them, you can rent tools from local hardware stores or buy them online at stores like Home Depot or Lowe’s.
Materials Checklist
Here’s what you’ll need to complete the job successfully:
Undermount kitchen sink – Choose a size and shape that fits your countertop cutout.
Mounting clips or brackets – Most sinks come with these. If not, buy a universal mounting kit.
Silicone sealant / adhesive – Use a high-quality waterproof type, like 100% silicone.
Support frame or 2x4s (optional) – If you’re working solo, support helps hold the sink while it sets.
Sink template or cutout guide – Usually included with the sink. Helps with placement and cutting.
Keep these items close before starting. Running to grab things mid-project can lead to missteps or drying sealant issues.
Step-by-Step Guide: How to Undermount a Kitchen Sink
Step 1 – Measure and Cut the Countertop (If not pre-cut)
Start by placing the sink template on the countertop. Make sure it’s centered front to back and side to side. Trace around the edge with a pencil. For stone surfaces like granite or quartz, you’ll need a diamond blade saw to cut the hole. For laminate, use a jigsaw with a fine-tooth blade.
Check twice before cutting. Mistakes here are costly. Always wear safety gear while cutting.
Step 2 – Position the Sink and Mark Mounting Holes
Flip the countertop over (if not installed) and place the sink upside down beneath the cutout. Align it carefully and center it. Use a pencil to mark the spots where the clips or brackets will be installed.
For installed countertops, mark these locations underneath while supporting the sink with a 2×4 brace or clamps.
Step 3 – Apply Silicone Sealant to the Sink Rim
Apply a generous bead of silicone sealant around the edge of the sink’s lip. Focus on a smooth, even line to create a watertight seal. This step prevents leaks and water damage.
Use clear or color-matched 100% silicone caulk approved for kitchens and baths. Do not use plumber’s putty—it may break down over time or stain stone.
Countertop Material Considerations
Installing on Granite or Quartz
Natural stone countertops are heavy and strong—but they require special care. Use a diamond-tipped drill bit for pilot holes. Avoid overtightening, as this can crack the surface. Brackets are ideal for granite installs because epoxy may not bond well over time.
Also, ensure the stone has been reinforced or supported around the cutout. If not, the sink’s weight (plus water and dishes) could cause stress cracks.
Installing on Laminate Countertops
Laminate is lighter and easier to cut, but it can’t support as much weight. You’ll need a plywood subdeck underneath the laminate to hold the sink. Use strong adhesive and spread it across the full contact area.
Keep the weight of the sink in mind. Lightweight composite or stainless steel sinks are best for laminate.
Cost Breakdown Table
Here’s a quick look at the average costs for parts and services related to undermounting a kitchen sink:
| Item | Estimated Cost Range |
|---|---|
| Undermount kitchen sink | $100 – $500 |
| Silicone sealant | $5 – $15 |
| Mounting kit or brackets | $10 – $30 |
| Tools (if not owned) | $30 – $100 |
| Professional installation | $200 – $500 |
If you’re a DIYer with tools on hand, this project is very affordable. Otherwise, hiring a professional may be worth it for difficult countertops or tight timelines.
Troubleshooting Common Undermount Sink Issues
Sink is Sagging or Separating
If your sink starts to sag, the glue may be weak. The sink might also not have enough support. Over time, the weight of water and dishes can pull the sink down. This is common with older installs or sinks that were only glued.
To fix it, use sink support brackets under the sink. These hold it up and spread the weight. You can find them at most hardware stores. If the seal is also broken, clean off the old silicone and add a fresh line. Let it dry fully before using the sink.
Leaks Around the Rim
Leaks often happen when the seal between the sink and counter breaks. This can let water drip into the cabinet below. If ignored, it can cause mold, wood rot, or a bad smell.
Use a plastic scraper to remove the old caulk. Wipe the area with rubbing alcohol to clean it. Then apply new 100% waterproof silicone around the edge. Make sure it’s even. Let it cure for at least 24 hours. You can find step-by-step guides on Bob Vila’s website.
Improper Alignment
If your sink is not centered or sits crooked, it was not lined up right during install. This can make it look bad. It may also cause water to pool in one spot.
To fix this, loosen the clips or brackets. Move the sink until it sits flat and straight. Then tighten it again. Use a level to double-check. If needed, get someone to help hold the sink while you adjust it.
💡 Expert Tips for a Long-Lasting Installation
Want your sink to last for years without problems? Follow these expert tips:
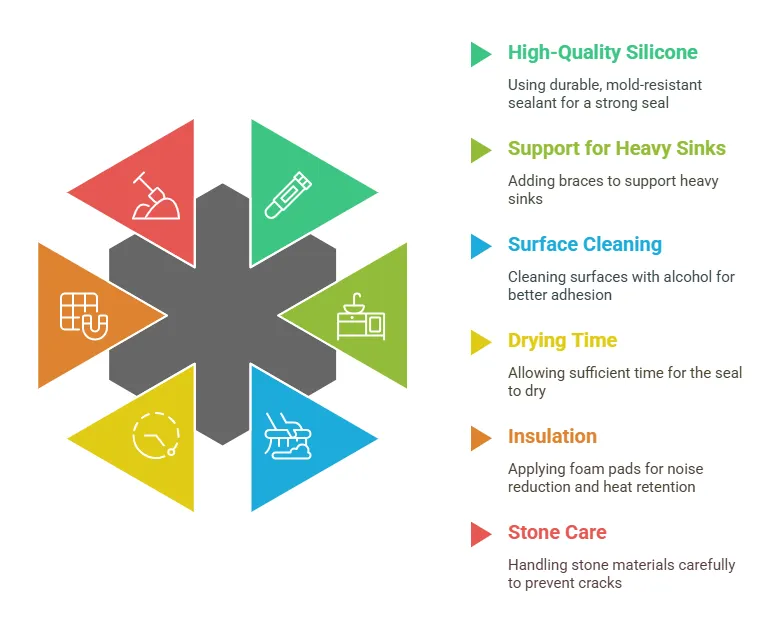
Use high-quality silicone – Cheap caulk may crack or peel. Use kitchen-safe sealant that fights mold and stays strong.
Support heavy sinks – Cast iron or stone sinks need more than glue. Add wood braces or metal supports under them.
Clean all surfaces first – Before sealing, wipe the sink and counter with rubbing alcohol. This helps the silicone stick better.
Let the seal dry fully – Wait at least 24 hours before using the sink. Don’t rush or the seal may break.
Use insulation – Foam pads around the sink cut noise and help with water heat. They’re easy to stick on.
If you’re working with stone like granite, be extra careful. The material is strong but can crack when drilled. If you’re unsure, hire a pro to help. It’s worth it for a clean, safe job.
Cost Breakdown Table
Here’s a simple breakdown of what you may spend on this project:
| Item | Estimated Cost Range |
|---|---|
| Undermount sink (stainless/composite) | $100 – $500 |
| Silicone sealant (kitchen-grade) | $5 – $15 |
| Mounting kit or brackets | $10 – $30 |
| Sink support frame or 2x4s | $10 – $20 |
| Tools (if not already owned) | $30 – $100 |
| Professional installation (optional) | $200 – $500 |
Doing it yourself saves money—especially if you have the tools already. But if your countertop is hard to drill, or your sink is heavy, hiring help might be the best choice.
How to Clean and Maintain an Undermount Sink

Daily and Weekly Cleaning
To keep your sink looking new, clean it daily with warm water and mild dish soap. Use a soft sponge or cloth to wipe it down. Avoid steel wool or hard brushes—they can scratch the surface.
Once a week, give your sink a deeper clean. Spray white vinegar on the surface, let it sit for 5 minutes, then rinse. This helps kill germs and remove hard water spots. For tougher stains, make a paste with baking soda and water. Rub it in, then rinse clean.
Stainless steel sinks are easy to care for. Just make sure to dry the surface to stop water spots. Composite sinks need the same care but don’t use bleach or harsh cleaners. They can damage the finish. You can find a full care guide on Kraus USA’s sink cleaning tips.
Avoiding Mold and Odors
Since undermount sinks sit under the counter, mold can grow around the edges. Wipe the rim dry after each use. If you see black spots or smell something bad, the seal may be broken.
Clean the edge with vinegar and an old toothbrush. Let it dry fully. If mold comes back, remove the old caulk and reseal it with fresh silicone.
FAQs
Are undermount sinks better than drop-in sinks?
Yes, for many people. Undermount sinks look sleek and modern. They make it easy to wipe crumbs from the counter straight into the sink. But they do cost more to install.
If you’re going for a clean, smooth look—and you’re okay with a little extra effort—an undermount sink is a great choice.
Can I install one myself?
Yes, if you’re comfortable with basic tools and follow the steps carefully. The hardest part is supporting the sink while the silicone dries. Use a brace or ask someone to help. For stone counters, you may want a pro installer to avoid cracking.
How long does the installation take?
The full process takes 2 to 4 hours, depending on your countertop and skill level. Make sure you also allow 24 hours for the sealant to cure before using the sink.
What kind of sealant should I use?
Use 100% silicone that’s made for kitchens and bathrooms. It should say “mold-resistant” and “waterproof” on the label. Do not use latex or acrylic caulks—they won’t last long under water.
Final Checklist Before You Begin
Before you start the install, make sure everything is ready. This table covers what you need to check:
| Task | Done? |
|---|---|
| Sink and countertop are clean and dry? | ⬜ |
| All tools and materials gathered? | ⬜ |
| Sink is test-fitted in the cutout? | ⬜ |
| Mounting clips or brackets ready? | ⬜ |
| Silicone sealant opened and loaded? | ⬜ |
| Support or brace in place? | ⬜ |
| Caulk applied evenly? | ⬜ |
| Sink held in place for full cure time? | ⬜ |
Tick off each step as you go. This makes the process smoother and helps avoid last-minute problems.
Conclusion
Undermounting a kitchen sink may seem tricky, but it’s totally doable—even for first-timers. With the right tools, a steady hand, and a little patience, you can get pro-level results without paying for costly help.
The key is to go step-by-step. Clean everything. Use strong, kitchen-safe silicone. Brace the sink well. Let it cure. And don’t forget the small things—like drying the rim and sealing it tight. These details make a huge difference in how long your sink stays strong and leak-free.
If you’re unsure about drilling into stone or lifting a heavy sink, there’s no harm in asking a pro to help. But for most people, this is a weekend project that pays off for years.
Leave a Reply